
1. Plan Your Gate
First things first, you need to make sure your new gate will actually fit in the spot where you plan to install it. Use a measuring tape to measure the height and width of the gate opening and use these measurements to determine the right size for your gate, or you can always ask us for guidance. You can then either order the correct size online or, even better, get one custom-made to fit your measurements – this will allow for a much neater and more precise fit.
2. Gather Your Materials
- Wooden gate
- Posts (proven timber recommended)
- Concrete mix / wall anchor bolts
- Spirit level
- Spade (if holes are required)
- Drill
- Screws
- Screwdriver
- Hinges
- Latch
3. Dig Post Holes
Now you’re ready to start the installation! If your posts aren’t in place yet, mark on the ground where they should go based on the gate’s width. Next, use a post hole digger to dig the holes for the gate posts. Make sure the holes are deep enough for stability, usually 2ft down and typically around one-third of the post length.
4. Set the Posts
Place the gate posts into the holes and use a spirit level to check that they’re perfectly vertical (plumb). Once done, follow the concrete mix instructions from the manufacturer and pour it around the posts in the holes. Double-check the post alignment using the spirit level and make any adjustments needed before the concrete sets.
5. Attach Hinges to the Gate and Gate Post
Once the concrete has set, it’s time to move on to installing the hinges.
Start by measuring and marking where you want the hinges on both the wooden gate post and the gate itself. Make sure these marks align directly across from each other. Typically, hinges are positioned on the horizontal rails.
6. Hang the Gate
Once the hinges are in place, you can connect the gate to the posts. Wooden gates can be heavy, so be sure to handle them with care to avoid any potential risks. It’s best to have someone else with you to make the lifting easier.
7. Fitting posts to walls
If you are fitting gates between walls, you would require 2 x 70mm x 95mm posts secured to the brickwork using self-tapping wall anchors, see our YouTube video for guidance.
8. Install the Latch
The last step in the installation process is to position and attach the latch to both the gate and the gate post. Make sure it aligns properly for a secure closure.
9. Test the Gate
Give the gate a few tries, opening and closing it to check it moves smoothly. If needed, make any adjustments to the hinges or latch for optimal performance.
10. Finishing Touches
You may want to consider applying wood stain or paint to protect the gate and enhance its appearance. While optional, this step can contribute to the gate’s longevity and overall visual appeal.
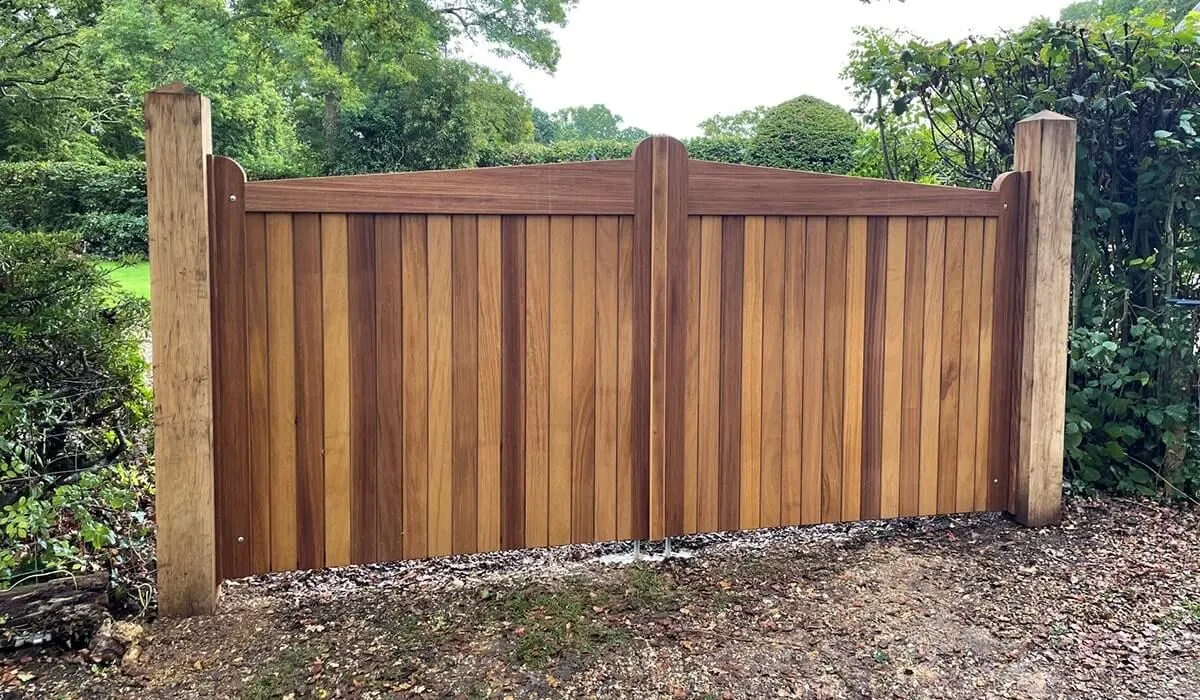
Handcrafted Wooden Gates, Expertly Installed in Dorset
By following these steps, you’ll be able to set up a functional and aesthetically pleasing wooden gate for your property.
However, if you’d rather save yourself the time and effort, why not let our team of experts handle the installation for you? We offer comprehensive measuring and fitting services for all our handcrafted gates, covering locations within 80 miles of our Poole workshop.
Whether you decide to install the wooden gate yourself or have us do it, we’re confident you’ll be happy with the results. Begin your project by getting a free quote online or give us a call on 01202 670770 today!
0 Comments